How to Work with a Pro Photo Lab and Get Consistent Print Results Every Time
TK Broecker / 27 September 2026
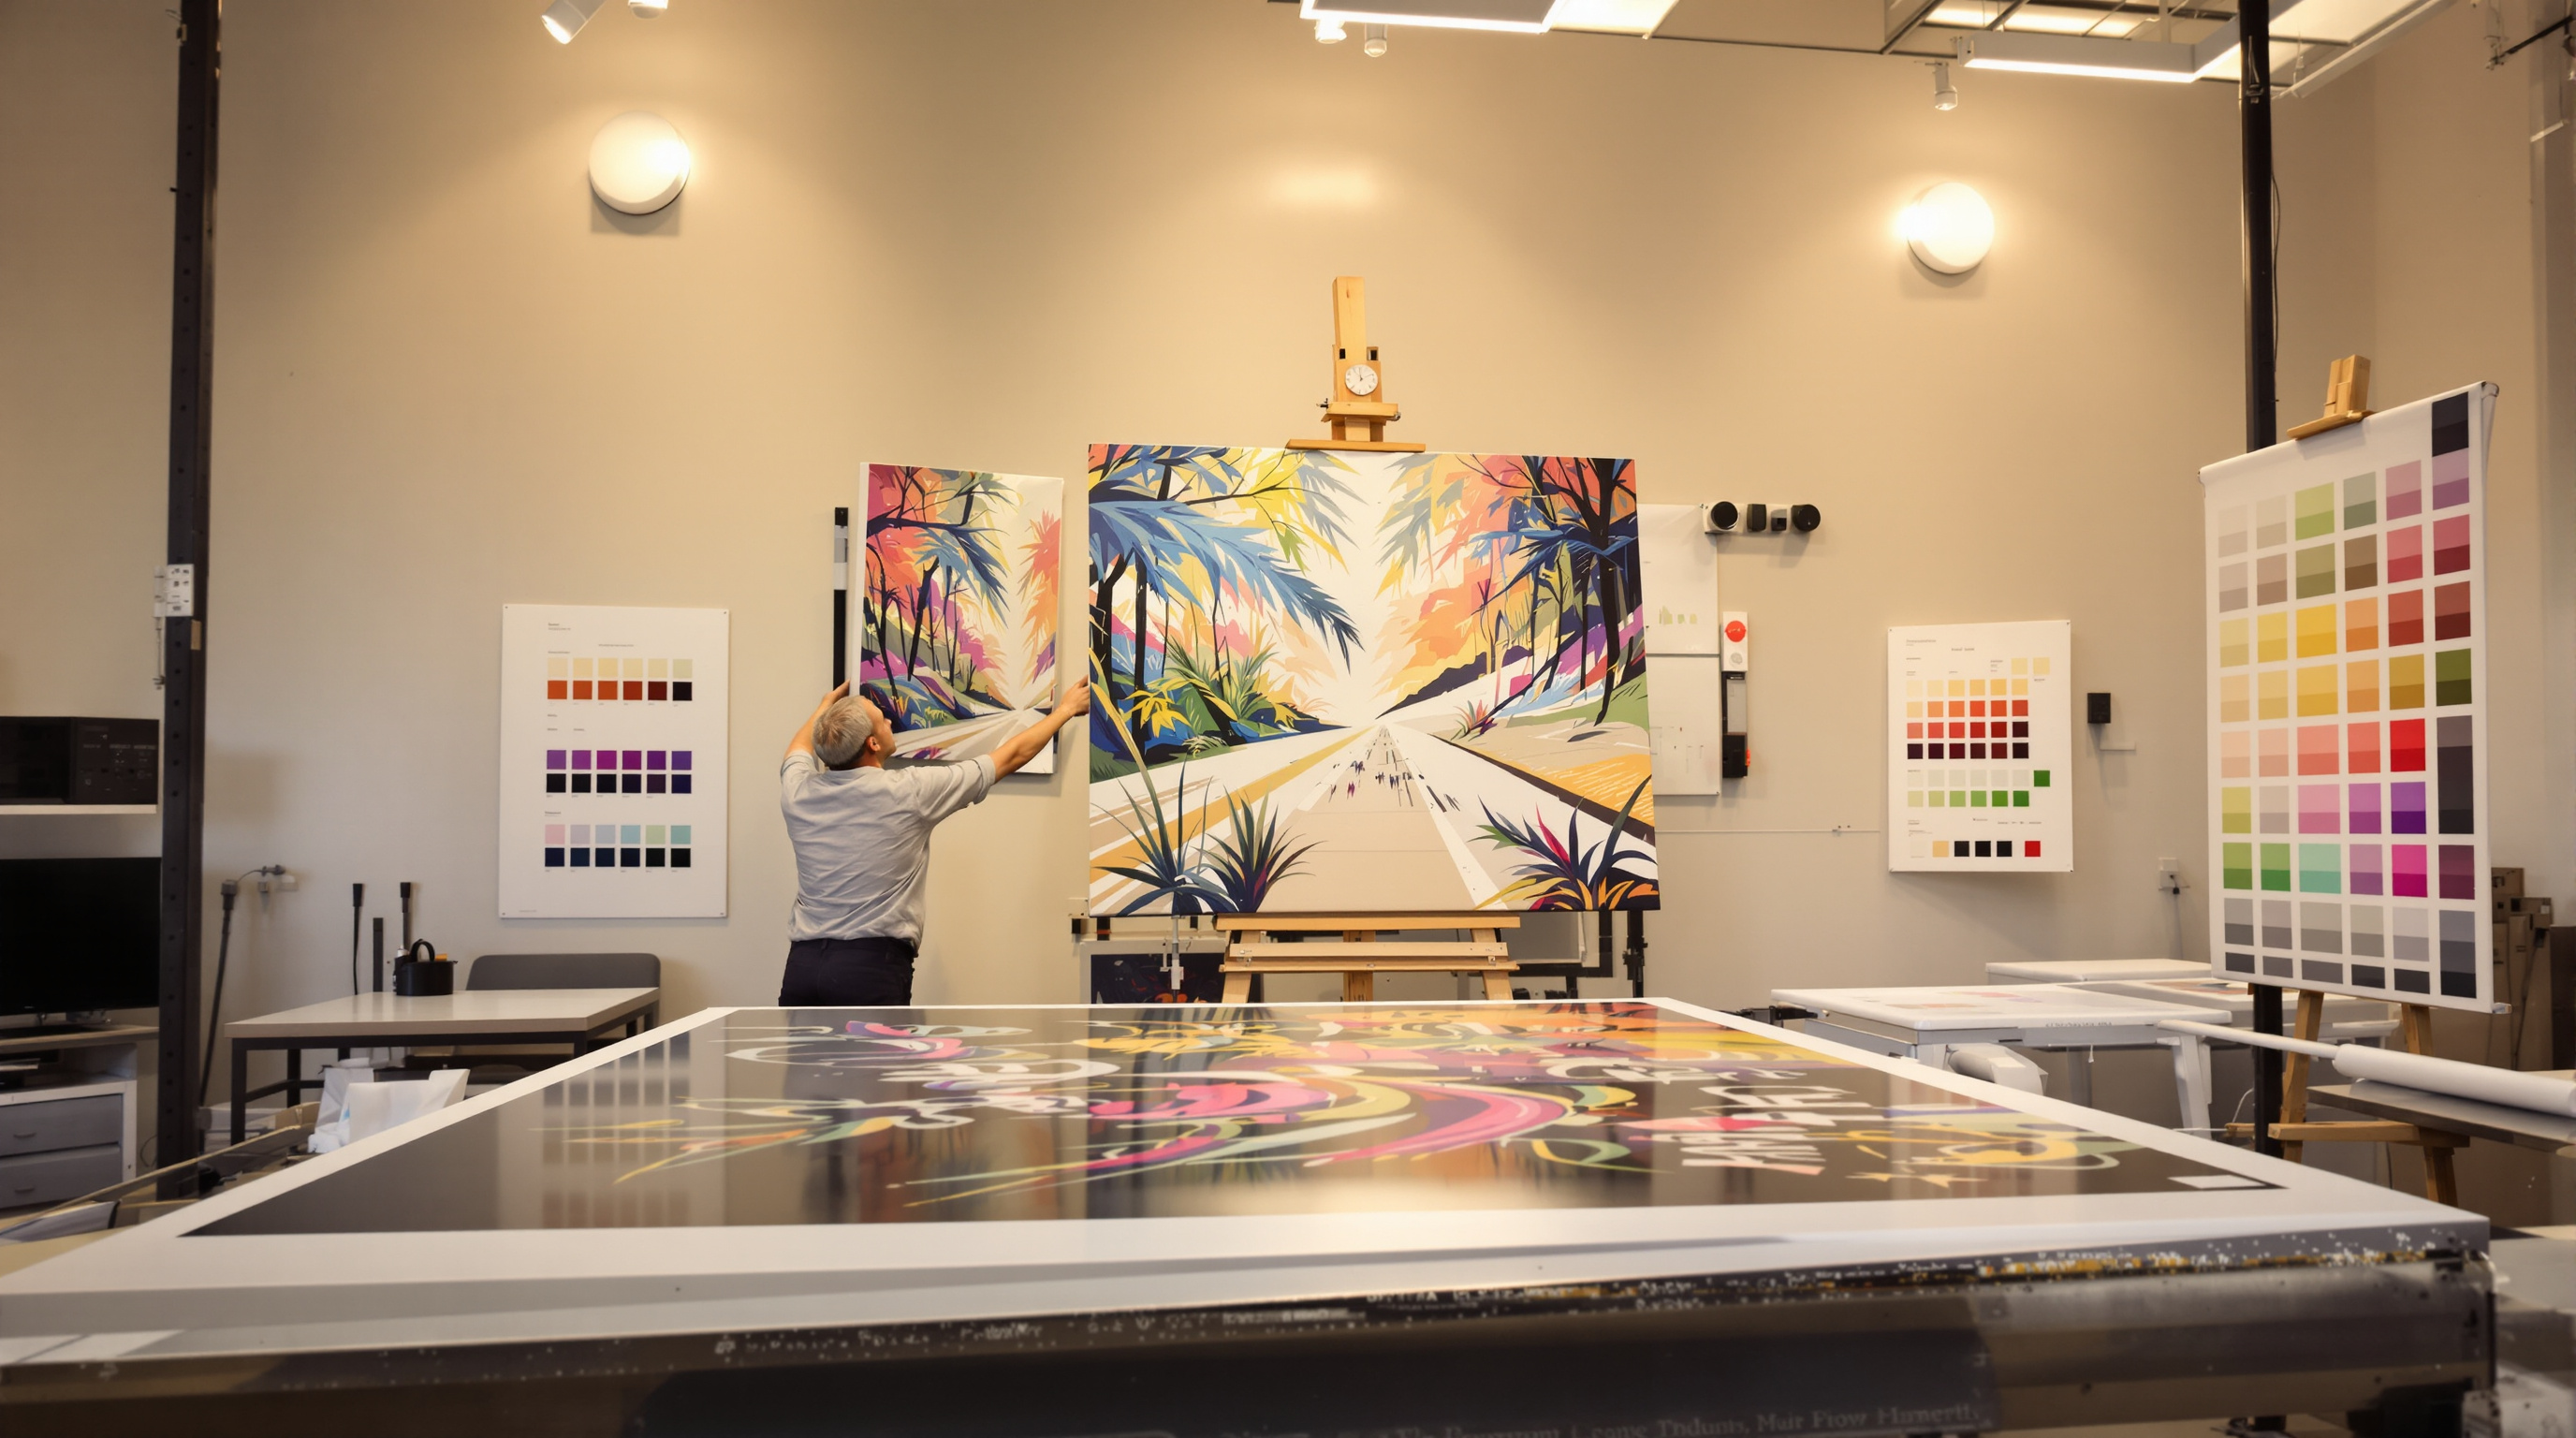
For photographers, the relationship with a professional photo lab is one of the most important — and often underestimated — partnerships in their business. Whether you are a portrait photographer, a wedding specialist, or a fine art shooter, the quality of your final prints depends just as much on how you work with your lab as it does on the quality of your images. This article explores how to build that relationship effectively and get the best results consistently.
Understanding What a Pro Lab Expects From You
Professional print labs operate very differently from consumer services like drugstore kiosks or big-box retailers. A pro lab employs color technicians, calibrates its equipment regularly, and works with professional-grade paper and ink systems. To take full advantage of these capabilities, you need to meet them halfway with properly prepared files.
Here is what most pro labs expect when receiving files for printing:
- Color space: Most professional labs print in sRGB or Adobe RGB (1998). Always confirm which color space your lab prefers. Adobe RGB offers a wider gamut and is generally recommended for high-end print work, but submitting an Adobe RGB file to a lab expecting sRGB will cause color shifts.
- Resolution: A minimum of 300 PPI (pixels per inch) at the final print size is the standard. Submitting lower-resolution files results in visible pixelation and soft edges.
- File format: Most labs accept TIFF or high-quality JPEG files. TIFF is lossless and preferred for large prints; JPEG is acceptable when saved at maximum quality.
- Sharpening: Apply output sharpening before submitting. Many labs will not add sharpening on their end unless you specifically request it.
- Cropping: Ensure your file matches the aspect ratio of the print size ordered. A 4x6 crop differs from a 5x7 crop, and labs will either auto-crop or flag the file depending on their policy.
Building a Strong Communication Channel with Your Lab
The single biggest mistake photographers make when working with a professional lab is treating it as a vending machine — upload files, receive prints. In reality, the most successful lab partnerships are built on clear, consistent communication.
When starting with a new lab, consider doing the following:
- Request a press profile or ICC profile: A reputable lab will provide ICC profiles for their printers and paper combinations. Loading these into Lightroom or Photoshop allows you to soft proof your images — simulating on screen how the final print will look. This dramatically reduces surprises.
- Order test prints first: Before placing a large client order, run a small test batch. Print the same image at different sizes, on different paper stocks, and compare them to your monitor. This calibration process is essential.
- Communicate special instructions clearly: If an image has a particularly dark shadow area, or if skin tones need to be preserved without correction, leave a note in the order form. Good labs read these notes and honor them.
- Ask about their correction policy: Some labs offer color correction as a service. Know whether it is applied automatically or on request, and whether you want it at all. Many experienced photographers prefer to opt out and handle all corrections themselves.
If you are based in or near Louisville, Kentucky, working with a pro photo lab in Louisville gives you the added advantage of being able to visit in person, discuss large orders face-to-face, and even do press checks for critical jobs. This local access is invaluable for commercial and fine art photographers.
Creating a Reliable File Submission Workflow
Consistency in your results begins long before you upload a file. It starts with a disciplined, repeatable workflow that removes variables at every step.
A professional file submission workflow should include these stages:
- Monitor calibration: Use a hardware colorimeter (such as those made by X-Rite or Datacolor) to calibrate your monitor regularly — at minimum once a month. An uncalibrated monitor is the number one cause of unexpected color shifts in prints.
- Edit in the correct color space: Work in Adobe RGB or ProPhoto RGB during editing, then convert to the lab's preferred profile at export.
- Soft proof before export: Using the lab's ICC profile, enable soft proofing in Lightroom Classic or Photoshop. Make any final adjustments to brightness, contrast, and saturation based on the soft proof view.
- Name files clearly: Use a consistent naming convention that includes the client name, image number, size, and paper type. For example: SmithWedding_0234_11x14_MetallicPaper.tif. This minimizes fulfillment errors.
- Double-check aspect ratios: Before uploading, verify that each file has been cropped to match the exact print dimensions ordered. Create Lightroom export presets for each standard print size to automate this step.
- Keep a submission log: Track every order with the date, lab, file names, sizes, paper types, and any special instructions given. If a problem arises, this log allows you to trace the issue quickly.
Maintaining Long-Term Consistency Across Orders
Getting great results once is satisfying. Getting great results every single time, across months and years of orders, is what separates professional photographers from amateurs. Long-term consistency requires ongoing attention to both your process and your lab relationship.
Here are the key habits that ensure consistent print quality over time:
- Recalibrate your monitor seasonally: Ambient light in your editing space changes with the seasons, and monitor hardware drifts. Recalibrate every 4–6 weeks or whenever your editing environment changes.
- Stay updated on lab changes: Labs periodically update their equipment, ink systems, or paper stock offerings. A printer profile that was accurate six months ago may no longer be current. Check in with your lab contact periodically and re-download updated ICC profiles when available.
- Build a relationship with a specific contact at the lab: Having a go-to person who understands your style and expectations is invaluable. They can flag unusual files, advise on paper choices, and escalate rush orders when needed.
- Archive your test prints: Keep physical reference prints from your calibration sessions. When a new order arrives, compare fresh prints to your reference set. If something looks different, investigate before delivering to the client.
- Evaluate and give feedback: If a print doesn't meet your expectations, tell the lab — professionally and specifically. Good labs want to know. This feedback loop improves the relationship and the results over time.
Conclusion
Working effectively with a professional photo lab is a skill that takes time and intention to develop. By preparing files correctly, communicating clearly, building a disciplined submission workflow, and investing in a long-term relationship with your lab, you set yourself and your clients up for consistently stunning print results. The lab is your partner — treat the relationship accordingly, and the quality of your work will reflect it.